Pages

Showing posts with label Creativity. Show all posts
Monday, April 18, 2016

iWorksheets - For Those Times You Just Need a Worksheet!

Hi everyone,
I'm Josie from iWorksheets at Teachers Pay Teachers. I'm a primary teacher with a heart for art! I don't have a blog of my own, but thought I'd try out the blog scene here on Who's Who.

To try out great resources for your little learners, check out this Free Sampler Pack. There are seven (7), full size worksheets, with answer keys included, for you to use with your kids. Hey! Can't pass up free worksheets!


In my next post, I will show some of my resources in action. I wanted to give you a heads up so you could benefit now.

Have a great week! 


Sunday, February 15, 2015

Play in the 21st Century Classroom

Hello!  I'm Hannah from 21st Century Kindergarten and I am super excited to be one of the newest contributors to "Who's Who and Who's New!"  I am a Kindergarten-teaching-mom-of-three-wife-to-a-teacher-and-basketball-coach in Kentucky.  My goal as a teacher is to bring Kindergarten into the 21st Century while staying true to teaching strategies that help my young students learn best.

Play in the Kindergarten classroom has become a thing of the past with the advent of higher expectations, new core standards, and the pressures of high-stakes testing trickling down to primary teachers. But, after doing some research for a graduate course this summer and recognizing the needs of my students, 
I decided it was time to bring play back into my 21st Century classroom.  
Each month of this school year I have chosen a new theme for dramatic play and have centered all of my play and explore centers around that theme.  All activities are aligned to Common Core and 21st Century Learner standards, provide for student choice, and give opportunities for those important lessons about social interaction and conflict-resolution.  
By devoting time every week (if not every day) to play, I have found that the sense of community among my students has improved, their thinking and questioning skills are better, and their overall academic performance is higher than classes I have had in the past who did not have as many opportunities for exploration.
Young students NEED to PLAY!
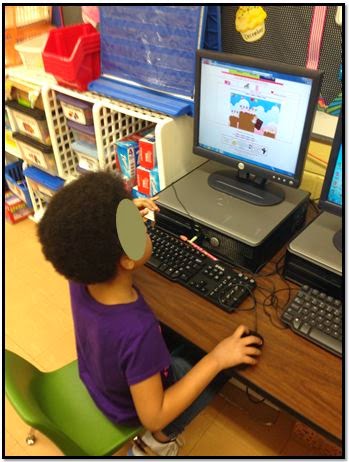
This month our theme is Communication and our dramatic play center is a post office.  Students are enjoying making stamps, weighing packages, paying for stamps, and writing/delivering letters and postcards to family and friends.  At the computers students can play Valentine's Day games and practice typing "emails and blogs" in Word.  At the block center students are creating communication devices including walkie-talkies and cell phones.  I bought a couple of cute dramatic play sets from TpT and have also added some of my own ideas over the course of the last couple weeks.  I generally let the activities evolve as the students play and add to them as they ask for items.
Check out these photos straight from my classroom!


 Next week I plan to add a twist to the communication theme with opportunities to play "Oval Office!"  Students will be able to pretend to be the President, work at a desk, and communicate with their constituents through press conferences on the Smart Board (aka video themselves with the document camera and live-broadcast speeches on the board).  You can kick off your Presidents' Day studies with this FREEBIE from my store,
Grab this FREEBIE!


Tuesday, June 10, 2014

A Fun Tactile Activity

The school year is winding down and everyone is anxious to get to some summer fun. This is a quick, easy, colorful, minimally messy activity with modeling dough that works great whether you're still in class and needing to get the wiggles out, or you're looking to make some fun summer memories. I tested this activity with my nephews and we had a blast!


What you'll need:
Flour
Water
Salt
Food Coloring
Several Bowls
Plastic Wrap

Optional:
Cooking Oil
Rubber Gloves
A Mixing Spoon


Step 1 - Grab your Recipe for Homemade Modeling Dough
For this activity, I took an online recipe for baked Christmas Ornaments and adapted it. You may already have a baked ornament recipe that you like, but if not I'd recommend either of the following:

Wikihow: http://www.wikihow.com/Make-Christmas-Ornaments-with-Dough
Allrecipes: http://allrecipes.com/recipe/ornament-dough/


Step 2 - Make the Dough
Use the recipe of your choice and follow its directions for ingredient amounts. Mix together the dough until the ingredients are just wet enough to form a ball. DON'T do the kneading step yet. When mixing the dough you can use a spoon, however I prefer using my hands. I feel like a get a more consistent dough that way. If you choose to use the hand-mixing method, I recommend you rub your hands with some cooking oil first. It'll save them from feeling all salty and dried out.

Next, break the dough into smaller balls, one ball for each color you'd like to make. I decided to go with the 4 primary colors so I broke the dough into 4 equal parts.


Now it's time to add some color! Add your food coloring to each ball and then knead each individual ball according to your recipe directions. The different recipes I looked at recommended 10 minutes. Now I know 10 minutes is a long time, but it's well worth it and here's why: First, kneading is an important step in making the dough the consistency you need for modeling. Second, it saves future messes, because once the color is kneaded into the dough it doesn't rub off on anything else! Warning: When you initially add the food coloring to the dough, you may wish to wear gloves to prevent the food coloring from getting on your hands. However, once the coloring is worked into the dough (through the kneading), the dough absorbs the color and doesn't get on anything else. Hooray!


Once you're done kneading the dough, wrap each ball in plastic wrap and put in the fridge until ready for use.


Step 3 - Let the Creativity Begin!
Now it's time to turn your kids loose to have some fun! My nephews liked the different color choices and decided to make some monster faces.


Special Notes: 
  • The dough might be a little sticky so you may want to put down some protective plastic. Or, they can make their creations on top of wax paper for easy transfer to the baking sheet.
  • These art creations will need to baked later, so you'll want to make sure the kids don't make them too thick.


Step 4 - Baking the Dough
After all the creativity has happened, it's time to bake the dough. Cover a cookie sheet in tinfoil or wax paper, place your students' creations on top, and bake according to your dough recipe. If your students' creations are thicker than a cookie, it will probably need a longer bake time than recommended. At that point you'll just need to watch the dough carefully and take it out when it's done. As you can see from the pictures below, the color isn't diminished with baking.


Step 5 - Enjoy!
Once your students' creations have cooled, they are ready to be shown off to the proud parents (for display-not eating!).


I hope your students have as much fun as my nephews did. I'm a very biased Auntie, but I think these monster faces turned out pretty cute.

Cheers!


If you enjoyed this post, be sure to check out our store:

http://www.teacherspayteachers.com/Store/Teri-And-Tiffs-Creative-Resources


and follow us on:

http://www.teacherspayteachers.com/Store/Teri-And-Tiffs-Creative-Resources

https://www.facebook.com/teriandtiff?ref=hl


Wednesday, April 30, 2014

Photography Mini-Lesson: What is Your Subject?

Turning kids loose with a camera is always a fun adventure. You never know what you’re going to get pictures of—maybe a picture of a person with their head accidentally cut off or a picture of the floor when they didn’t know they were taking a picture, etc. With this mini photo lesson you can help your students slow down and think through what the subjects of their pictures are.

What you’ll need:
  • At least 1 camera your class can share. (Any simple point-and-shoot camera or smart phone will work.) Ideally, it'd be great to have 2 or 3 cameras so that you can split your class into teams, each with a camera to use.
  • A printout of the different examples used in this lesson. (Just click here to download.)

Instructions:

This lesson is broken into five sections––an introduction, three principles, and a conclusion. Each principle is broken into two parts: Group Time is a group lesson when the whole class will learn and discuss together. Team Time is when each photo team (camera in hand) will practice the principle they just learned.


Introduction
Group Time
After you take a picture, you want to show people what you’ve done, right? You can show your parents, your friends, or your teacher. Well the people that you show your pictures to are your audience. When you want to take a good picture, it’s important that you always keep your audience in mind. You want to think about how they will see your picture and what your picture will communicate to them. Today we’re going to learn three important principles to help you do this.


Principle 1: What are you trying to show your audience?

Group Time
When you’re going to take a picture, the first thing you need to do is decide what you’re going to take a picture of. For example, let’s say I’m going to take a picture of my dog, Ralph. That makes Ralph the “subject” of my picture. So I take my camera, point it at Ralph, and snap the picture. I’m done right? Let’s look at the picture I took. 


You are my audience. Looking at this picture, can you tell that I was trying to take a picture of Ralph? (Have the students share about what they think the picture is really about.)

Ok, so it’s not too clear that Ralph was supposed to be the subject of my picture. This is why our first principle is so important. We need to make sure that our audience can tell what our subject is supposed to be. I clearly didn’t do that with my picture of Ralph. So what are some ways I could’ve done better at showing that Ralph was the subject of my picture? (Have the kids list their ideas. Possible examples: Zoom in closer to Ralph, wait until the girls walk by, or lay down on the grass so that you’re eye level with Ralph.)

Team Time

Now have your class break into teams and practice taking pictures that have a clear subject. Have each member of the team take at least one picture.


Principle 2: Check the background
Group Time
The second principle we’re going to talk about is double-checking your background. Now the “background” is everything behind your subject. You want to always check the background to make sure that there isn’t something distracting in your picture. Let’s look at this example. What’s wrong with this picture? (Have the students share what is wrong.)


Right! He has a plant coming out of his head. If the photographer had been paying attention to the background they would’ve spotted this problem. What could the photographer have done to fix this problem? (Have your students share ideas about how to fix the plant-head problem. Possible examples: Move closer to the subject when taking the picture, move to the right or left when taking the picture, or have the subject move so they don't have anything distracting behind them.)

So you see it’s not only important to clearly show what your subject is, but it’s also important that the background isn’t distracting your audience.

Team Time
Now have your class break into teams and practice taking pictures that (1) have clear subjects, and (2) don’t have distracting backgrounds.


Principle 3: Show your subject from different perspectives
Group Time
So far we’ve learned two important principles to help you (the photographer) communicate your subject to your audience. There is one last principle that we’re going to discuss, and that is making your picture interesting. We don’t want to take plain, boring pictures, right? We want to take cool pictures that are interesting to look at! This principle will help you do that. We make pictures interesting by taking them from different perspectives. This means that you show the subject in a variety of different ways. Example: Take some pictures from close up and far away, some from high up and some from low down. Let’s look at this example:


(Have the students list the different perspectives shown in the example. Talk about where the photographer had to be to take the picture.) So you see, you can have fun and be creative with all the different perspectives you take a picture from. Here is a good rule of thumb to make sure you get several different angles: Always take one picture close up, one from a medium distance, and one from farther away. (Show example)


Team Time
Now have your class break into teams and practice taking pictures that (1) have clear subjects, (2) don’t have distracting backgrounds, and (3) are from the three following perspectives: close up, medium distance, and far away.


Conclusion

Group Time
For the conclusion, have a show-and-tell time. Each team can show the class the pictures they took during team time (especially the one after Principle 3). Have them explain how their pictures show the three different principles. You can do your show-and-tell two different ways: If you would like to have the conclusion on the same day as the lesson, just have each team hold up their cameras and show the pictures on the camera's display. Or, if you don't mind waiting a little to have your conclusion time, you can download the pictures and show them using PowerPoint or your computer's image-viewing software.

I hope this lesson can encourage your students to not only think about their subjects but also enjoy being creative with perspectives and angles. Have fun with your budding photographers!

Cheers!


http://www.teacherspayteachers.com/Store/Teri-And-Tiffs-Creative-Resources


Friday, March 28, 2014

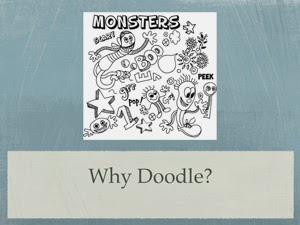
Why Doodle?


http://www.teacherspayteachers.com/Product/Drawing-Doodle-Lesson-141420

How can we afford to "waste" valuable time in our classrooms letting our students doodle?

Sunny Brown gives the current definition of “doodle” in her TED talk, “Doodlers, unite!”:
“In the 17th century, a doodle was a simpleton or a fool, as in “Yankee Doodle.” In the 18th century, it became a verb, and it meant to swindle or ridicule or to make fun of someone. In the 19th century, it was a corrupt politician. And today, we have what is perhaps our most offensive definition, at least to me, which is the following: “To doodle officially means to dawdle, to dilly dally, to monkey around, to make meaningless marks, to do something of little value, substance or import and,” my personal favorite, “to do nothing.” No wonder people are averse to doodling at work."
http://www.ted.com/talks/sunni_brown

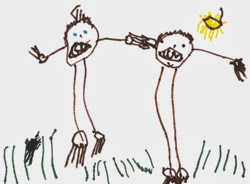
However before a child can speak, they can draw pictures. Drawing helps children understand the world around them and helps them to make sense of the world. When children draw, it is without fear of what others will think, or to try to make a perfect representation of their world, but rather an attempt to communicate and understand what is going on around them. Here's a drawing of friends by a young student.


To take it one step further, the beginning of humankind first communicated through the use of cave paintings and we've learned more about that time from their artwork than in any other way.


So why spend valuable class time doodling?

Doodling greatly benfits our students and gives voice to learners who learn visually. According to Linda Silverman, director of both the Institute for the Study of Advanced Development and the Gifted Development Center and author of Upside-Down Brilliance: The Visual-Spatial Learner, 37% of the population are visual learners.

Doodling helps students retain information. When students read a story or listen to a lecture and  doodle their understanding of that information their retention is increased.

As Sunni Brown states further in her TED talk, re-defining what doodling is:
“Doodling is really to make spontaneous marks to help yourself think. That is why millions of people doodle. Here’s another interesting truth about the doodle: People who doodle when they’re exposed to verbal information retain more of that information than their non-doodling counterparts. We think doodling is something you do when you lose focus, but in reality, it is a preemptive measure to stop you from losing focus. Additionally, it has a profound effect on creative problem-solving and deep information processing.”
In the arts, it allows students to draw without fear of failing and helps them to find their own artistic voice.

It uses abstract thinking skills. With the institution of the common core and it's emphasis on the higher level thinking skills, this is a valuable opportunity for students to use those skills.

How can teachers integrate doodling in the classroom?

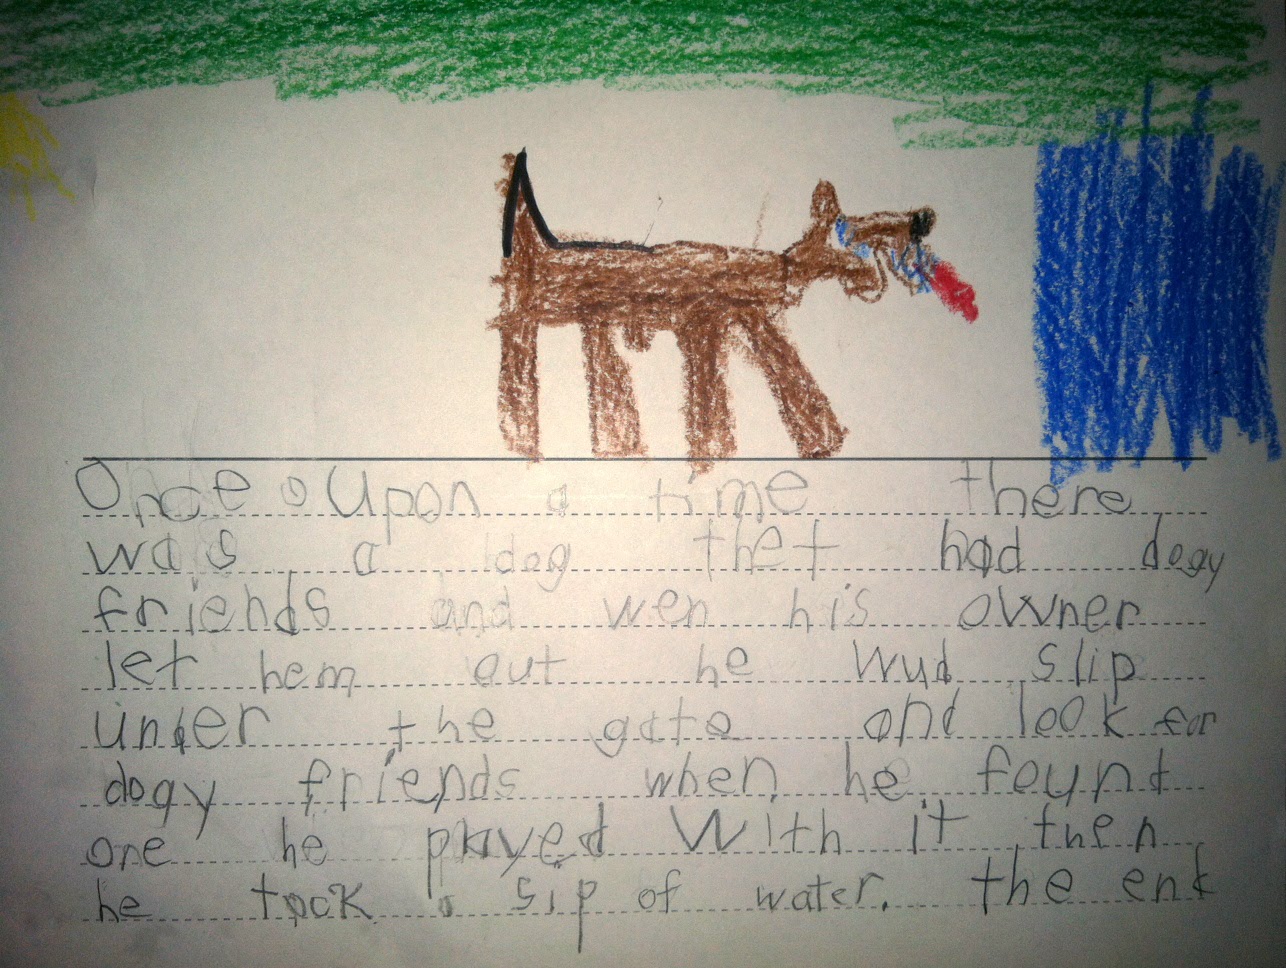
Integrating doodling into the classroom isn't as hard as you might think. In Language Arts students can be asked to finish a doodle starter and then write about what they've drawn. I have a doodle starter lesson for elementary classroom teachers.

http://www.teacherspayteachers.com/Product/Doodle-Starters-and-Stories-Printables-291575 

http://www.teacherspayteachers.com/Product/Doodle-Starters-and-Stories-Printables-291575

http://www.teacherspayteachers.com/Product/Doodle-Starters-and-Stories-Printables-291575


When reading a book for class the students can use post-it notes to doodle their ideas or thoughts as they are reading. This allows them to have a better understanding and recall of the story when they are done.

If you click on the image below it will take you to a great blog that explains SketchNotes in a visual way!

Click Here
 
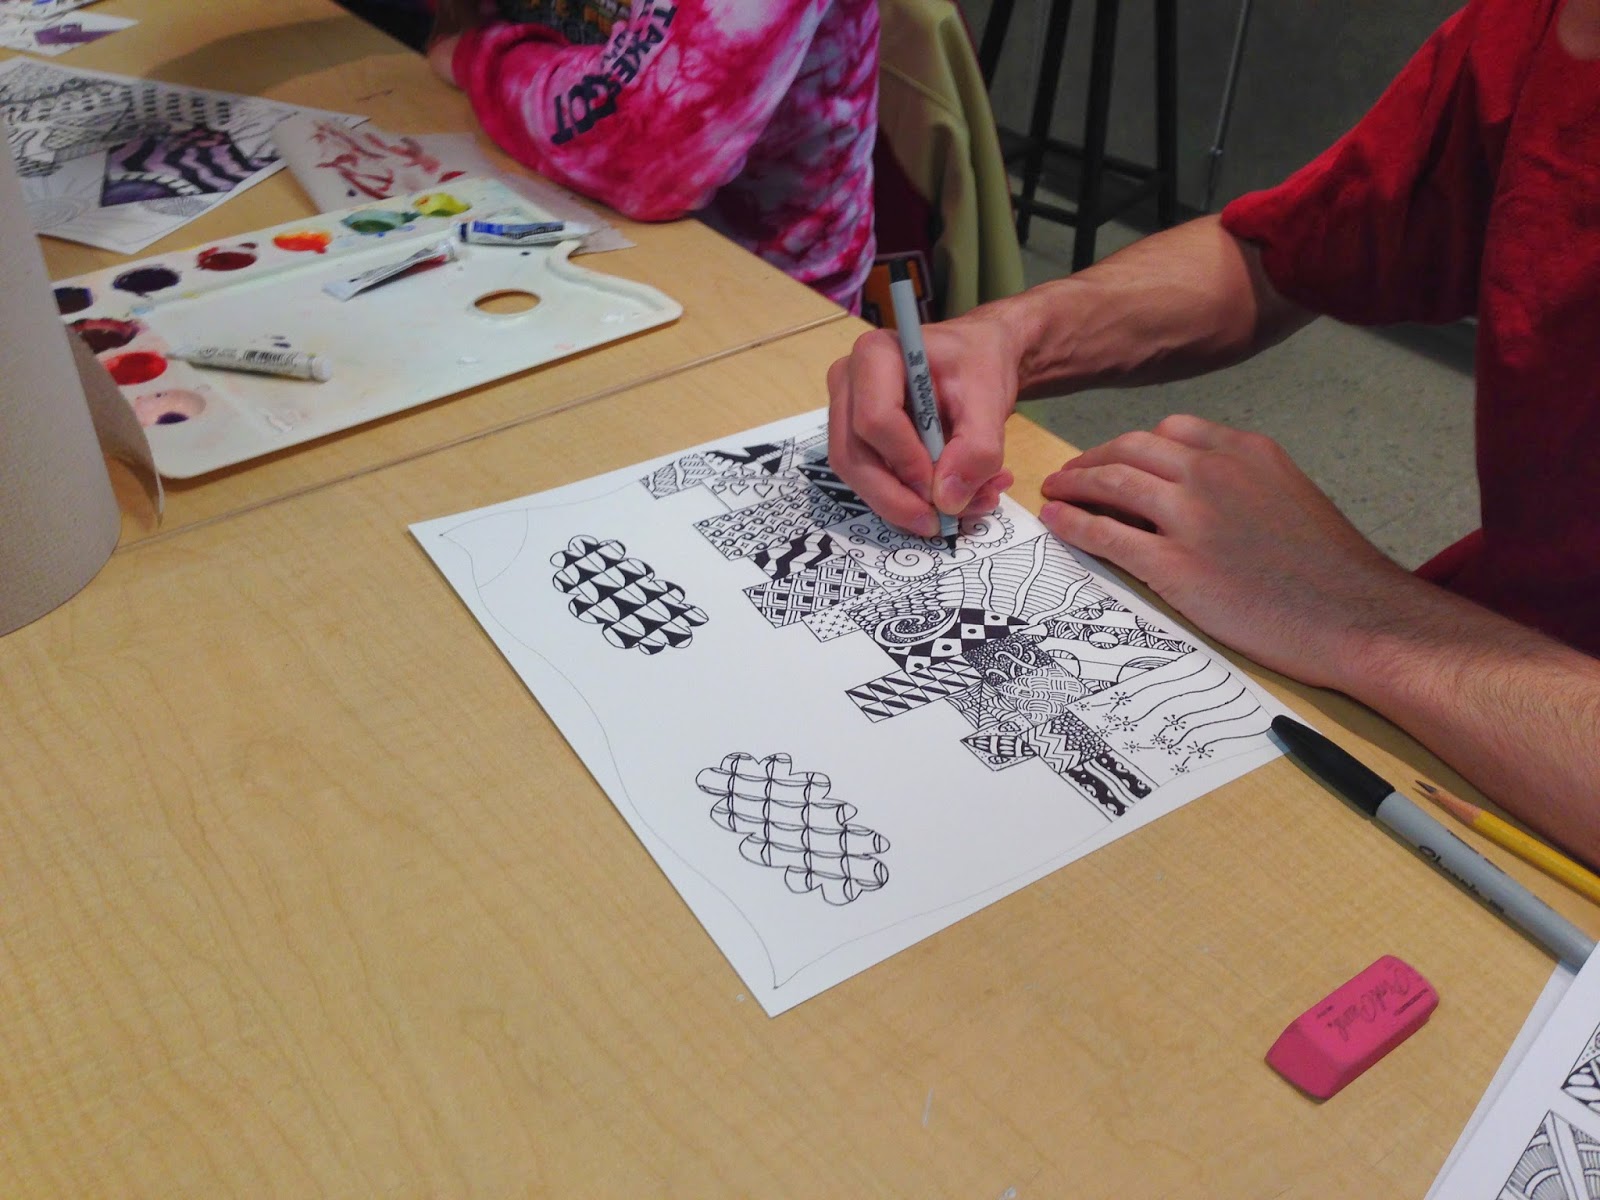
I also teach a doodling lesson in my visual arts class. Here are some pictures of my students working on a more structured doodle lesson,  Doodle Landscapes:

http://www.teacherspayteachers.com/Product/Doodle-Landscape-Elements-of-Art-Project-713796

http://www.teacherspayteachers.com/Product/Doodle-Landscape-Elements-of-Art-Project-713796

http://www.teacherspayteachers.com/Product/Doodle-Landscape-Elements-of-Art-Project-713796
 
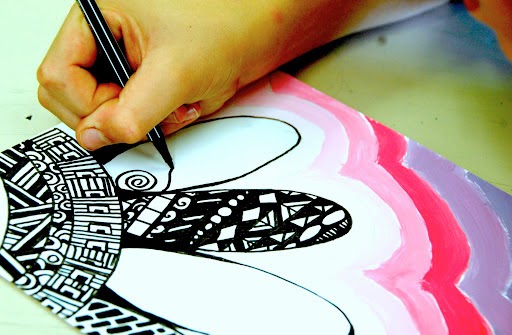
Another activity that would be fun for students is to draw flowers, or bugs and then doodle inside the shapes! What a fun, simple craft to celebrate the coming of Spring! Here's a fun blog with step by step instructions on creating zentangle flowers! Check it out by clicking on the image!
 

http://arteascuola.com/2012/10/zentangle-flowers-with-tempera-value-background/
 
You can find lots of great zentangle patterns on pinterest. Here is a board with some zentangle ideas and step by step patterns!

http://www.pinterest.com/sabrinawingren/zentangles/
 
Doodling for fun is a great way to get students warmed up and get their creative juices flowing. The video I put together using visuals of different doodles is free. Access FREE video by clicking on the picture below.
http://www.teacherspayteachers.com/Product/FREE-Doodle-Movie-Anticipatory-Set-142013
 

21st Century Skills

Doodling is about using visual skill to solve problems. Creative problem-solving is one of the most important 21st century skills that our students will need to succeed. Best of all, no student ever complains that the day was horrible because they had to doodle! So can you tell I'm into doodling?! Lol! Take a chance and let your students amaze you with their creativity. Start doodling in your classroom! I'm sure many of you incorporate doodling into your classrooms already, how do you do it?
 
So go ahead, start doodling!

Sabrina Wingren


Thursday, March 20, 2014

Photography Mini-Lesson: Rule of Thirds

Here's a fun little lesson to teach your class some of the basic principles of photography.

What you'll need:
  • At least 1 camera your class can share. (Any simple point-and-shoot camera or iPhone will work.) Ideally, it'd be great to have 2 or 3 cameras so that you can split your class into teams, each with a camera to use.
  • Printout of the example sheets shown in this blog (Click here to download files)
Instructions:
This lesson is broken into five sections––an introduction, three principles, and a conclusion. Each principle is broken into two parts: Group Time is a group lesson where the whole class will learn and discuss together. Team Time is when each photo team (camera in hand) will practice the principle they just learned.

Introduction

Group Time
Pictures are a fun way to capture memories and share them with other people. They're also a great way to tell a story. We're going to look at a special photography principle called the "Rule of Thirds" that will help us learn how to use pictures to tell a story.  


Principle 1: Rule of Thirds–Left and Right
Group Time
Let's say you're at a birthday party, and you want to take a picture of the birthday girl. Most people would take a picture of the birthday girl and put her right in the middle of the picture. 


This is a good way to show who the birthday girl is, but it's not a good way to tell a story about what's happening at the party. In order to tell a story about this birthday party, you can use the Rule of Thirds–Left and Right. Now, when you look through the camera, I want you to imagine 2 lines––one on the left and one on the right. This splits the picture into 3 sections. 


To tell the story of the birthday party, we want to put the birthday girl on one of these imaginary lines, NOT in the middle. Putting the birthday girl on either the left line or the right line leaves room for us to show what she's doing. That helps us tell the story of her birthday party. 


For example, we could put the birthday girl on the left line and show her with her presents, or we could put her on the right line and show the birthday girl with her cake. 


Do you see how putting the birthday girl with either her cake or presents helps us tell the story of what's happening at the party?

Let's look at a second example of using the Rule of Thirds–Left and Right to tell a story. Let's say we want to take a picture of a boy walking. If we put the boy in the middle of the picture, we don't know where he's going or where he's coming from. 


So we don't know the story of why he is walking. However, if we put him on the left line or the right line, we can show where he's going and where he's coming from.


Team Time

Now have your class break into teams and practice taking pictures using the Rule of Thirds–Left and Right. You may want to remind the class to imagine the left and right invisible lines to help them place the subject in their pictures.

Principle 2: Rule of Thirds–Top and Bottom
 
Group Time
One way to tell a picture story is to use the Rule of Thirds–Left and Right. Another way to tell a story is to use the Rule of Thirds–Top and Bottom.
Now, when you look through the camera, I want you to imagine 2 different lines––one on the top and one on the bottom. This splits the picture into 3 sections. 


Let's say you're at a school play. You want to take a picture of your best friend on stage. When you look through your camera, should you put your friend right in the middle? No! That doesn't help tell a story. We want to use the Rule of Thirds–Top and Bottom. If we put your best friend on the top line, then you're helping tell the story of who came to see the play, because you can see the audience in the picture. 


Or, if we put your best friend on the bottom line, it tells the story of what's happening in the play, because you can see much more of the stage. 


Do you see you using the top and bottom lines helps us tell a story?

Another example: What if you were taking a picture of your teacher at her desk? If you put your teacher on the top line, then you're telling a story about what she's doing at her desk. If you put your teacher on the bottom line, then you're telling a story about what she has on the whiteboard.


Team Time
Now have your class break into teams and practice taking pictures using the Rule of Thirds–Top and Bottom.

 
Principle 3: Using All 4 Lines
 
Group Time
Now we're going to take the Rule of Thirds–Left and Right and the Rule of Thirds–Top and Bottom and use them both at the same time! So first, what should you imagine when you look through your camera? You should imagine all 4 lines together. These lines would make a 9 boxes, like a tic-tac-toe game. 


Now when you take a picture you don't need to use all 4 lines at the same time. You need to use 2––– one of the Left or Right lines and one of the Top or Bottom lines. For example, if you were taking a picture of your friend looking out the window, and you want to show that they're looking at a bird on a tree branch outside, you need to put your friend on one line and the bird on the other line. 


Can you see how we're using two lines at the same time to tell a story?

Another example: If you're taking pictures at recess, and your friend kicks a soccer ball, put your friend on the right line and the ball on the bottom line, and that helps you tell a story of where the ball is going. 
OK, let's try this out.

Team Time
Now have your class break into teams and practice taking pictures using 2 of the 4 imaginary lines.

Conclusion

Group Time
For the conclusion, have a show and tell time. Each team can show the class the pictures they took for each of the three principles, demonstrating how they put the subject on the appropriate line or lines. You can do this two different ways: If you would like to have the conclusion on the same day as the lesson, just have each team hold up their cameras and show the pictures on the camera's display. Or, if you don't mind waiting a little to have your conclusion time, you can download the pictures and put them into a PowerPoint slideshow so that it's a little easier for everyone to see the pictures and for your students to explain how their pictures demonstrate the 3 principles. 

We hope this lesson helps inspire your students to become young photographers who can tell stories instead of just taking regular old snapshots. 

Enjoy!  
Tiffany 

http://www.teacherspayteachers.com/Store/Teri-And-Tiffs-Creative-Resources