Pages

Showing posts with label Art Lesson. Show all posts
Sunday, March 20, 2016

Celebrating the Arts!

Hi!  I'm Hannah from 21st Century K and I'm excited to share how my school works to celebrate the arts.  In response to new program reviews and standards a few years ago, we began holding an Arts Showcase for our primary students each spring.  


After reviewing the standards we found that while we provided more than adequate opportunities for experiences with visual art, music, dance, and drama in a learning/classroom-type environment we failed to offer our students the opportunity to create, collaborate, perform, critique and explore the arts in their own unique ways.  
So, we encouraged students (and their families) to choose anything creative for which they felt they had special talent or aptitude, and plan a way to present that talent to their classmates.  Then each class held individual performances and voted on which talent/presentation/performance they would like to represent their class in a school wide Create Arts Day Showcase.  No emphasis is placed on winning and losing or who is better/worse.  Our showcase isn't a talent show and very few parents attend. It is simply a way for students to share a way in which they are creative.

What resulted was more than any of our teachers could have ever imagined...

Our young students, as an audience, were respectful, encouraging, and thoughtful. Within each classroom a special story unfolded.   In a second grade classroom an athletic boy puts together a basketball dribbling routine and sets it to music for which the crowd cheers. In one third grade classroom a friend with special needs sings a Michael Jackson song and is unanimously voted into the show where she receives a standing ovation. In another class, a quiet boy shares his amazing computerized robot for which he wrote the programming and is voted into the show over the Broadway show-tune belted out by the girl who regularly participates in local theater performances. In my Kindergarten classroom a typically outgoing and boisterous girl quietly shares a memoir she wrote about her lost pet goldfish and she is hugged by her friends, many of whom are brought to tears.  My own daughter, when she was in second grade, was begged by her class to sing "Let It Go" for the school showcase, encouraging her to overcome stage fright and perform for an audience for the first time in her life. I watched her blossom before my very eyes and was touched to see her classmates give her encouraging looks and a loud, supportive ovation as she finished the song. Many more students played instruments, performed dance routines, and paraded visual arts pieces across the gym.  Each time the crowd of primary students would cheer and clap as if they were at a Grammy-nominated performance.

We all learn a lot of valuable lessons during this week of the school year.

  • As teachers we are reminded that the "extra" stuff (about which we may grumble when it interrupts our comfortable school day routine) is worthy of our time.
  • As regular educators we are reminded that the arts programs are vital to our school and our students (and that the art, drama, music, and PE teachers have a hard job).
  • We learn to view many of our students in a new light... many of which are little diamonds in the rough or have secret talents about which we didn't know.
  • From our students we learn that a little bit of grace and humility can go a long way and that supporting each other by cheering wildly when someone else succeeds is just what friends should do.
  • Interested in starting your own Creative Arts Day?

We send parents a note one week prior saying all students are welcome to participate by preparing any creative presentation including, but certainly not limited to, any visual arts pieces, vocal/instrumental performances, creative writing, dance or other movement routine, anything involving creativity with technology, and dramatic performances or collaborations. Each teacher provides a little class time to discuss projects and ideas, and provides time for friends who may not ave time at home to prepare.  Each class plans a day for class performances and works together to choose one student to perform at the school wide assembly.  Administrators and arts teachers work together to make sure students have all they need and to set a schedule for the school showcase. Then on a Friday afternoon we all gather in the gym to simply celebrate creativity and the arts.

It's simple... after all, the best things in life always are.
Add the Arts to your Common Core instruction in grades K, 1st, and 2nd with this fun unit, "Talents," at 21st Century K on TpT.


Friday, February 12, 2016

Winter Art That Teaches Color Value

Winter is not over yet so I got to teach my students the values of color with my FAVORITE art lesson!!!!

http://terristeachingtreasures.blogspot.ca/2013/01/winter-wonderland-art.html

This art project teachers students patience because it is done in 3 stages with paint drying in between. I find that the waiting for each part helps build the anticipation of my little eager students!

http://terristeachingtreasures.blogspot.ca/2013/01/winter-wonderland-art.htmlhttp://terristeachingtreasures.blogspot.ca/2013/01/winter-wonderland-art.html
All that is needed to complete this is a white piece of paper (I used card stock) and 3 colors of paint (blue, white, and black)! 

You can get easy, step-by-step instructions on how we completed this beautiful, eye-catching art work here.

http://terristeachingtreasures.blogspot.ca/2013/01/winter-wonderland-art.htmlCheers,


Tuesday, June 10, 2014

A Fun Tactile Activity

The school year is winding down and everyone is anxious to get to some summer fun. This is a quick, easy, colorful, minimally messy activity with modeling dough that works great whether you're still in class and needing to get the wiggles out, or you're looking to make some fun summer memories. I tested this activity with my nephews and we had a blast!


What you'll need:
Flour
Water
Salt
Food Coloring
Several Bowls
Plastic Wrap

Optional:
Cooking Oil
Rubber Gloves
A Mixing Spoon


Step 1 - Grab your Recipe for Homemade Modeling Dough
For this activity, I took an online recipe for baked Christmas Ornaments and adapted it. You may already have a baked ornament recipe that you like, but if not I'd recommend either of the following:

Wikihow: http://www.wikihow.com/Make-Christmas-Ornaments-with-Dough
Allrecipes: http://allrecipes.com/recipe/ornament-dough/


Step 2 - Make the Dough
Use the recipe of your choice and follow its directions for ingredient amounts. Mix together the dough until the ingredients are just wet enough to form a ball. DON'T do the kneading step yet. When mixing the dough you can use a spoon, however I prefer using my hands. I feel like a get a more consistent dough that way. If you choose to use the hand-mixing method, I recommend you rub your hands with some cooking oil first. It'll save them from feeling all salty and dried out.

Next, break the dough into smaller balls, one ball for each color you'd like to make. I decided to go with the 4 primary colors so I broke the dough into 4 equal parts.


Now it's time to add some color! Add your food coloring to each ball and then knead each individual ball according to your recipe directions. The different recipes I looked at recommended 10 minutes. Now I know 10 minutes is a long time, but it's well worth it and here's why: First, kneading is an important step in making the dough the consistency you need for modeling. Second, it saves future messes, because once the color is kneaded into the dough it doesn't rub off on anything else! Warning: When you initially add the food coloring to the dough, you may wish to wear gloves to prevent the food coloring from getting on your hands. However, once the coloring is worked into the dough (through the kneading), the dough absorbs the color and doesn't get on anything else. Hooray!


Once you're done kneading the dough, wrap each ball in plastic wrap and put in the fridge until ready for use.


Step 3 - Let the Creativity Begin!
Now it's time to turn your kids loose to have some fun! My nephews liked the different color choices and decided to make some monster faces.


Special Notes: 
  • The dough might be a little sticky so you may want to put down some protective plastic. Or, they can make their creations on top of wax paper for easy transfer to the baking sheet.
  • These art creations will need to baked later, so you'll want to make sure the kids don't make them too thick.


Step 4 - Baking the Dough
After all the creativity has happened, it's time to bake the dough. Cover a cookie sheet in tinfoil or wax paper, place your students' creations on top, and bake according to your dough recipe. If your students' creations are thicker than a cookie, it will probably need a longer bake time than recommended. At that point you'll just need to watch the dough carefully and take it out when it's done. As you can see from the pictures below, the color isn't diminished with baking.


Step 5 - Enjoy!
Once your students' creations have cooled, they are ready to be shown off to the proud parents (for display-not eating!).


I hope your students have as much fun as my nephews did. I'm a very biased Auntie, but I think these monster faces turned out pretty cute.

Cheers!


If you enjoyed this post, be sure to check out our store:

http://www.teacherspayteachers.com/Store/Teri-And-Tiffs-Creative-Resources


and follow us on:

http://www.teacherspayteachers.com/Store/Teri-And-Tiffs-Creative-Resources

https://www.facebook.com/teriandtiff?ref=hl


Thursday, April 24, 2014

HAPPY about Art

I love finding new art ideas online so I thought I would share this one that I do with my class almost every year (it is great for teacher on call work as well).  

Here is how it works:
1.) Give students half a piece of 8 1/2x11 white card stock and 7 different coloured happy face stickers.
2.) Tell students to put the stickers anywhere on their paper.
3.) Once all the stickers are on the paper tell students that they have to create a scene without moving any of the stickers (I have an example for them). The stickers can be people, animals, or bugs. Really they can be anything with a face. I have had students turn them into suns or flowers.  It is interesting to see their faces when they realize where they put the stickers. Some of them are even upside down :) I tell them the whole page has to be part of the scene and that I want colours (no black and white). To add some humour I also tell them they cannot tell me that their picture is 7 people in a snow storm.
 4.) When students are finished I give them some tape and let them hang their masterpieces anywhere on the door. 

Here are some pictures of what this years crew did.


This activity helps me assess students persistence with work, especially when they put stickers upside down. It is great for seeing who can adapt to unforeseen circumstances. Every year a couple of students cannot handle it and ask to start over because they don't want their stickers where they put them. I always let them start over but I put the stickers on the page for them (none upside down). From this years crew I could quickly see that I needed to focus art lessons on adding details and colouring neatly in one direction. I don't think they were lacking in the creativity department so this is great.

Whenever we complete an art project I have students reflect on their work. Anyways here is a link to the art reflection sheets I have my students complete. 
  Cheers,
http://terristeachingtreasures.blogspot.ca


Sunday, April 13, 2014

Tie-Dyed Milk & Shaving Cream Prints

I was inspired by an incredible sale on food coloring at my local dollar store (what teacher doesn't love that place???) to resurrect a long dormant project of mine for my son's Kindergarten class. Shaving cream prints are usually a HUGE hit with children because printmaking relies on a magical element of chance... you never really know what your image will look like. Much like 'The Price is Right' there is always a moment of "What's behind print number 1?????" filled with anticipation.


As a full-time art teacher I never had my own classroom but got used to being an eccentric traveler of sorts. It wasn't an unusual sight to see me teetering down the hallway with an assortment of oddities balanced carefully onto my cart. With my trusty, yet filthy, apron I tackled everything from India ink to dead fish, papier mache to chalk murals. At times I felt compelled to give the teachers I worked with little disclaimers before I came in because art is rarely neat and often it is completely the opposite.

For this project I think my word of warning went something like this:

"We will be messy today. really, really messy.
BUT
your students will be totally engaged,
your tables will be spotless and shiny clean when we are done,
and your room will smell like a friendly old grandpa"

Hmmm... now that I think about it number three seems ambiguous as far as being a positive or negative, but I mean it in a good way. While it *is* messy it is also a perfect blend of science and art.

Part One: Exploring Surface Tension with Tie-Dyed Milk
Part one of this is a science project with very simple ingredients. You need:

  • Whole Milk
  • Bowls
  • Food Coloring
  • Liquid Dish Soap
  • Recording Sheets
Organize students into small groups or tables and provide them with a bowl of milk, a recording sheet for each student, and liquid food coloring. Explain that they will be adding drops of food coloring to their bowl of milk and ask them to predict what will happen by drawing in box one. 


Most students think that the milk will act the same as water and color it almost instantaneously and fill it with rainbow colors. One child even predicted a cute little cat would appear in the milk. Then perform the experiment by dropping several drops (of different colors) in the bowl.


Strangely enough the food coloring just floats on top like colored freckles. No action shots though, because I was desperately monitoring kindergartners from adding colored freckles to themselves. Students draw a picture of what did happen and then predict what will happen if they add a drop of dish soap to the milk. Then add it for a crazy surprise... the milk and colors just explode and move across the surface. After a few minutes it looks something like this: 


Awesome sauce! Isn't that beautiful? Scientifically it's all about surface tension. I like to explain it to kids by talking about why a piece of wood floats on water... because it's weighs less. It's the same principle the food coloring. It is water-based and is less dense than milk so when it is dropped onto the milk it floats on the surface. When the dish soap, which is denser than water and milk, is dropped onto the surface it breaks through the layer of food coloring and the layer of milk which then allows them to mix together to make beautiful patterns.


Part Two: Shaving Cream Printmaking
Part two is a beautiful art project that mimics the same coloring effect from the tie-dyed milk. You will need:

  • Shaving Cream (like Barbasol)
  • Food Coloring 
  • Q-Tips
  • Putty Knife
Give each student a pile of shaving cream. You can spray it out right on the table or desk because it cleans up beautifully. Each student can add a few drops of food coloring (I set a verbal limit like "5 only") to the surface of the shaving cream and then use a Q-Tip to swirl and mix the colors into interesting patterns or designs. Warn them that if they mix it too much the colors will become muddied and they will lose the crispness or detail in their picture. 


When they are done mixing they lay a piece of paper (preferably cardstock) face down onto the shaving cream and lightly pat it so the paper has adhered completely to the surface of the shaving cream. 


When you first lift the paper off it won't really look like anything because there will be a lot of shaving cream stuck to it. 


Take the putty knife and scrape the shaving cream off to reveal the magic!


Here are some examples from Kindergarten:


Amazing! I love the unpredictability of what will appear and so do the students. One interesting note is that you can print multiple pictures off of the colored shaving cream but each one will be less detailed and a bit softer.

And now to the grandpa smell... your tables will clean up beautifully since the art project was based in soap. If you happened to pick up the menthol kind then your room will have a very clean-ish aroma for the rest of the week.

Enjoy!


Monday, March 3, 2014

Dr. Seuss Style Creature Collage

Another fun collage... especially for Kinders!


Hip hip hooray! 
This is the time
you'll read about 
cats wearing hats
 in a rhyme.

You'll add green dye 
to your eggs,
or you'll spray 
your hair blue,
or you'll just listen 
with joy 
to kids reading 
with you.

Perhaps, most of all,
{if you're lucky enough}
you'll discover that inside you
is some wonder stuff.

There's creativity goop
and a nonsense whim
and plenty of "silly"
that you don't 
find in Grimm.

So take all of your quirks
and mix them around.
Then take those 
creativity seeds
and plant them 
in the ground!


It's Read Across America week and that means we get to enjoy a healthy dose of Dr. Seuss around these parts. I am such a huge fan of his work that it is always a treat to celebrate as a whole school and in our individual classrooms. I've always opted to go all out in my classroom by theming my centers and writing and core studies to Dr. Seuss' amazing collection of books.

One of my favorite activities that I try to do every year is an open-ended art and writing project where students get to create, name, and write about a Seuss-style creature. As I'm not in the classroom this year I am kicking myself for not getting more pictures of the process, but it is really simple to prep and simple to explain. It is also an art project for kids that don't like art because it is more about the process than the skill level.

I won't lie. There is a tiny, minuscule, infinitesimal bit of prep work that you have to do in advance, BUT it is prep work that you can reuse if you do this project again.


1) PREPARATION:
Take your favorite Dr. Seuss books and look for illustrations that show different types of creatures... you want to collect a widely varied assortment of bodies, eyes, ears, tails, feet, etc. Photocopy the images you like while adjusting the lightness of your copy as needed to achieve an almost blackline appearance. Then cut out the different parts and make a randomized collage sheet of Dr. Seuss creature bits. Photocopy the creature sheet onto cardstock for each student.

2) COLLAGE:
Each student needs a collage paper, a blank piece of art paper, scissors, and glue. Students will cut out the creature parts they like and glue them together into unique Seuss-style creature of their own on the blank art paper. After the collage is dry, students will use crayons and watercolors to add color and depth to their picture

3) READ:
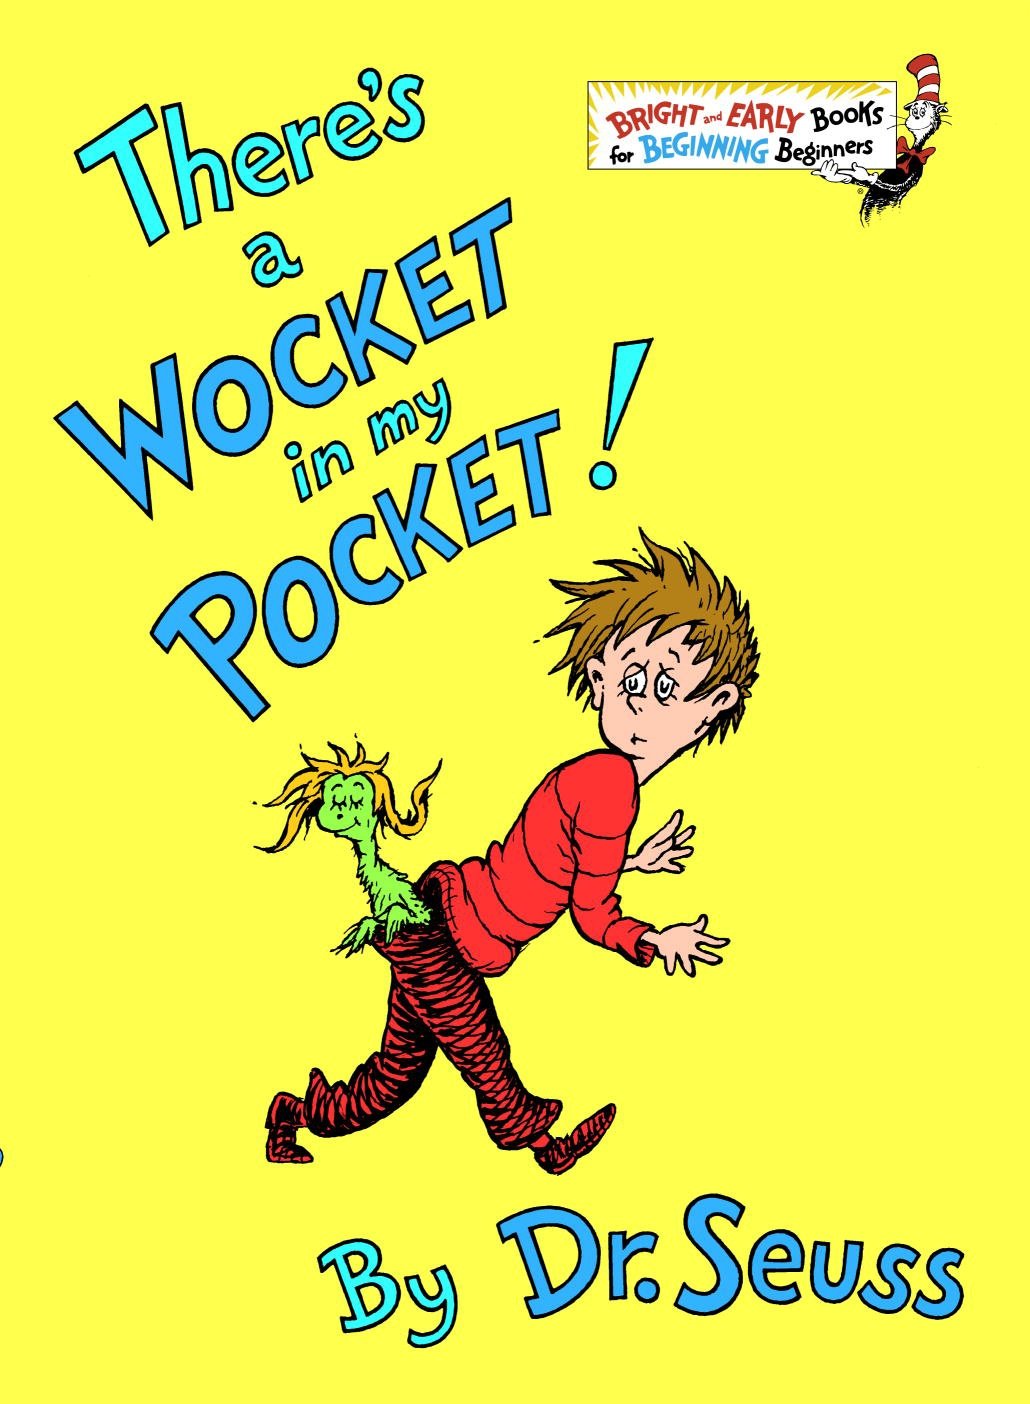
At this point, or sometimes before, I read "There's a Wocket in my Pocket" and discuss the different creatures and how they are named so that they rhyme with their environment.


4) WRITING:
Students will name their creature and the place it comes from in a rhyming pattern... stressing, of course, the possibility (or likelihood) of using nonsense words. You can end it there, but I like to encourage students to write a bit more. Students can write about their creatures personality, what it likes to eat, what it likes to do, etc. 


And, Voila! A beautiful Seuss-style creature.


Enjoy!