Hi everyone! Kelly and Kim here from Kelly and Kim's Kreations!
We are so excited to be back here blogging at Who's Who.
About a year ago we began our journey of changing our listening center over from CD players to iPods. It has been a lengthy process, but one that has been so worth it! We have found that the children are more independent in this center and it is has become a very high-interest center!! We have also found it liberating to get rid of all of those CDs! It's a win, win situation from all angles!
Are you ready to take the plunge? Here is a step-by-step tutorial to help you out!
Are you ready to take the plunge? Here is a step-by-step tutorial to help you out!
Do you know how to import CDs into your iTunes library? It is actually very easy! First, insert the CD into your computer's CD or DVD drive.
A window will pop up asking if you want to import the contents of the CD into your iTunes library. Click "yes" if you want to import all of the tracks.
Click "no" if you want to see the tracks available and only select one of them from the list that appears. (Just right click to import that track from the list.)


(Tip: Many children's books on CD come with TPS tracks or "Turn Page Signals" and these are the tracks we like best because the beep or chime to turn the page keeps them on track with the reader.)
As they are imported into your iTunes library, you can right-click the track and select "Get Info."
You can then add the title, author, album name, a grouping to sort them in a specific way, and so on.
You can even import album artwork to make it easier for primary-age students to know if they have found the right book on their device!
If you want to organize your titles in a specific way, you can head to the bottom left corner of the program and click the "+" sign, shown below.
Select "New Playlist."
We decided to group our playlist by month to switch out the books in the center each month. It would also be convenient to group them by learning theme to keep the books on topic. There are tons of ways you could organize your titles!
Finally, drag each playlist you want your children to access over the top of the device you have plugged in so it can sync!
Voila! You are finished!
You can charge up your devices at the end of the week or leave them plugged in at the center when the children clean up.
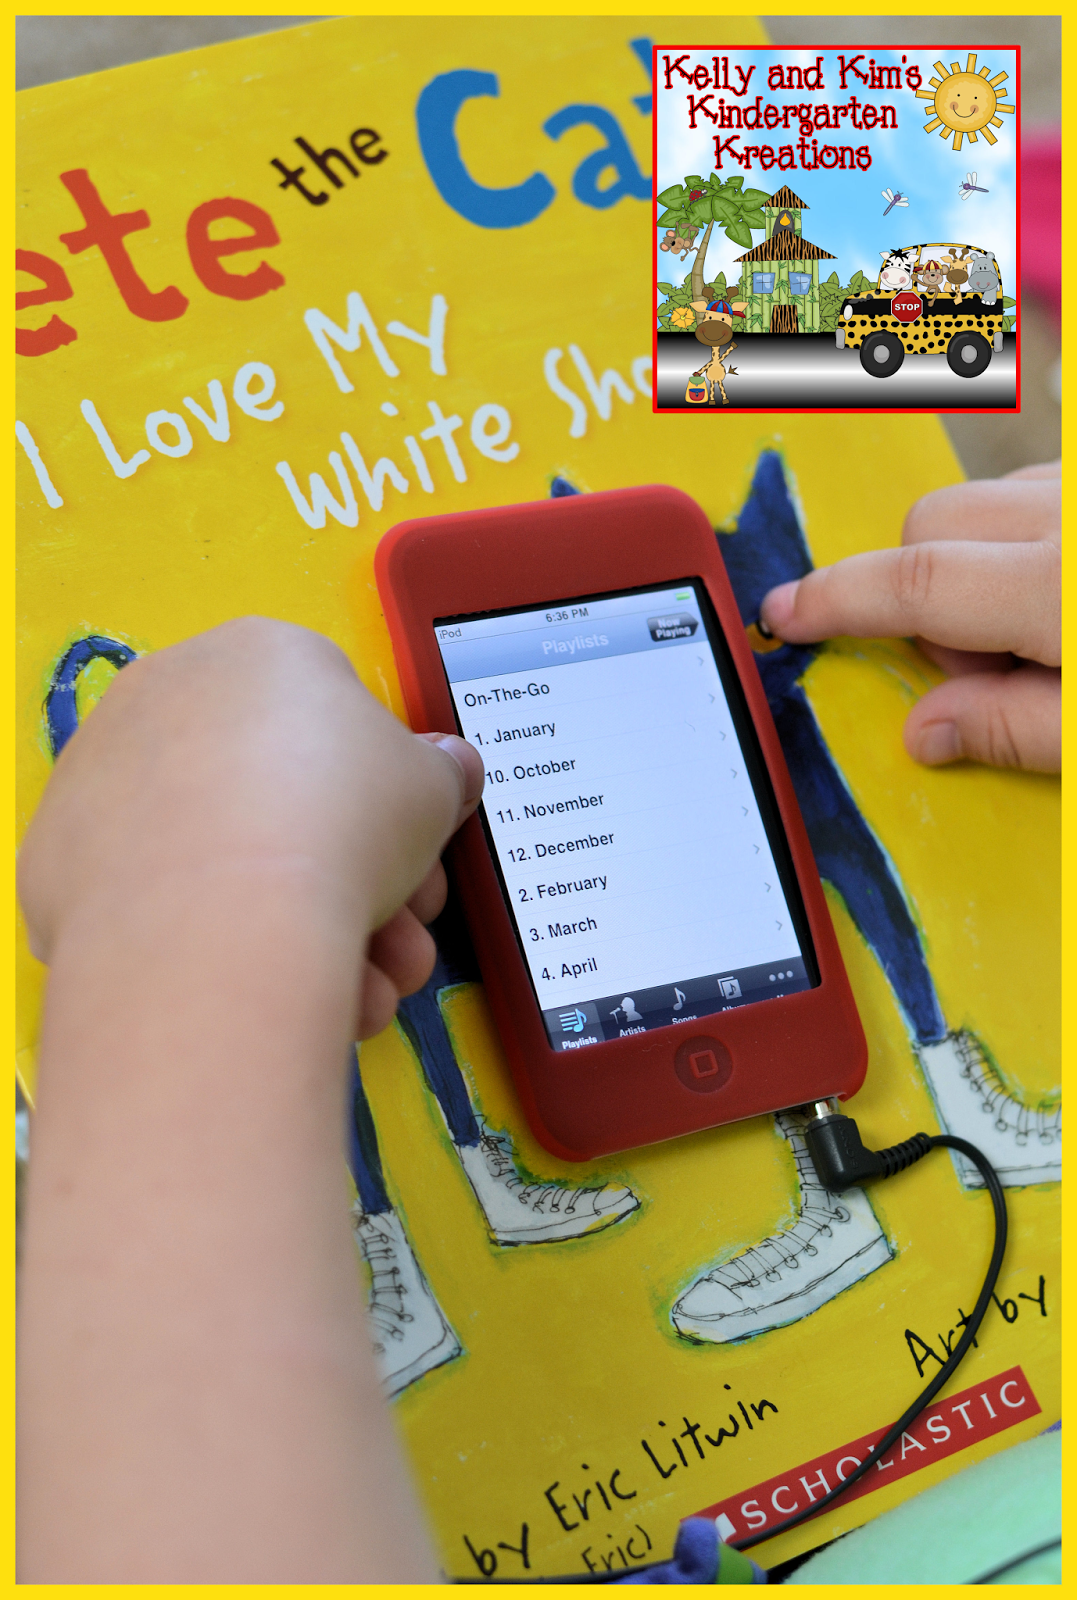
When children turn on the iPod, our students know that the books are found in the single "music" folder at the bottom. All of the other apps or utilities we moved to the second screen to make navigation easy for the children!
Below, you can see a child selecting a classroom favorite, Pete the Cat!

It is an "October" book since we have a colors learning theme in October. We added the month number before it (10. October) to correspond with the date they're used to writing on their papers.
If you are in need of iPods for your classroom, there are so many ways you can get them with little to no money out of your pocket. We asked parents, past and present, if they had any old iPods or iPhones laying around that they would donate to our classrooms. We were able to get several donated this way. We also entered the bidding war of Ebay, and were able to get one iPod for $24!! Wow! That was a lucky win! You can also try your hand in submitting a project on DonorsChoose.org to earn some iPods, headphones, CDs, and comfy seating for your listening centers!
Thanks for hanging out with us today, we hope you are inspired to change over your listening center if you haven't already. The children love it and so do we!
'Til next time!


I love this but I may only be teaching 4 more years...maybe too much work for an oldie like me!
ReplyDeleteGreat post! Thank you for the step by step instructions too!
Hilary
Thank you! We love the change, it has made the listening center so much more enjoyable. Have a great week!!
DeleteWhat kind of headphones do your students use with the iPads?
ReplyDelete