

Step 1: Selecting Groups
The first step to successful group work is setting up the groups. This may sound like a simple step but it is actually a very important step that is often overlooked. When coming up with groups there are several things you should consider. First, take into account the project your students will be working on and how many students make sense for that particular project. Anticipate the different jobs/roles that the task/project can be broken into to help determine the number of students for each group.
Once you have determined an appropriate number of students for each group it is time to figure out which students to pair up. There are several ways to do this. One approach is to be intentional about who you pair up and try to compliment a child's weakness with another child's strength and vice versa. Another school of thought it to allow students to be randomly paired in order for them to learn to work with students of differing opinions and personalities. One simple way is to have students work with the other students in their row (if you have desks) or at their table (if you have tables). Another idea is to randomly select students (which was my 4th graders preferred method). All you need for this idea is an old soup can, a little cutesy duck tape and some popsicle sticks. Peel the label off the can and wrap it with decorative duck tape (be sure to wrap around the inside lid so you don’t cut yourself like I did!). Then write each student's name on a popsicle stick and place them in the can. Now when you are ready to select students for a particular group you can just draw out popsicle sticks. I love using the can method because you can use it throughout the year for lots of other things too like picking who gets to present first, creating a new seating chart, etc. Sometimes I would even have other students pick out the names so they knew I didn’t rig it!

Step 2: Outlining & Assigning Roles/Jobs
Now that you have your groups in place it is time to outline the specific roles or jobs necessary for the task and assign them to each student. Here is where you want to play to your students' strengths. *Side note: rotating jobs (for different projects) can also allow for students to improve on their weaknesses while providing opportunities for each student to try out a new role (and eliminate the "that's not fair she got to do that last time" comments).
There are several roles possible and each project could have a different set of roles. In some cases you will want to assign the same role to several group members (such as the illustrator role if the project is a poster that will be heavy in illustrations). Here are a few suggestions for roles:
1. Writer, Recorder or Note-Taker: Their job would be to write down or record all the important information needed for the project or poster. Strengths to consider for this role would be someone who is attentive to detail (yet able to see the big picture) and someone with neat handwriting.
2. Time Keeper: This person's job is to keep track of the time and help keep the group on task. You can give them a stop watch or have them watch the clock. Strengths to consider for this role would be someone who is able to think ahead and break apart a task into time segments or is not afraid to call out times to the group. You may want to instruct them to call out how many minutes are left after every 5 min. or so (to avoid distracting the group every minute).

3. Materials Manager: This person's role is to gather all the needed materials for the project and help keep them organized while the work is being done. They can also make sure the materials get put back in the correct place when the job is done.


4. Illustrator: The illustrator draws and colors all the pictures for the poster. Remember you may want to assign this role to more than one student if the project is illustration heavy such as a poster. Strengths to consider for this role is creativity, attention to detail and care of materials.
5. Researcher: This can be a role assigned to one person or assigned to the group as a whole. In this role the person would look up any information needed to complete the project and relay it to the note-taker. Strengths to consider for this role are reading ability, reading rate and the ability to skim and pick out key details.
6. Presenter: This person's role is to be the spokesperson for the group when presenting their project or poster. They should show and tell the class what the project or poster is all about. Strengths to consider for this role are speaking skills, eye contact and summarizing skills.
7. Clean-Up Crew: This is a role that I like to assign to the entire group. Working as a team to clean up is an important skill to emphasize. The materials manager can oversee the clean-up and help delegate tasks for the rest of the group to accomplish.
These are just a few ideas for roles to get you started but the options are endless! Another idea for assigning roles would be to have students volunteer or select roles within their own group.
Step 3: Setting Up Expectations
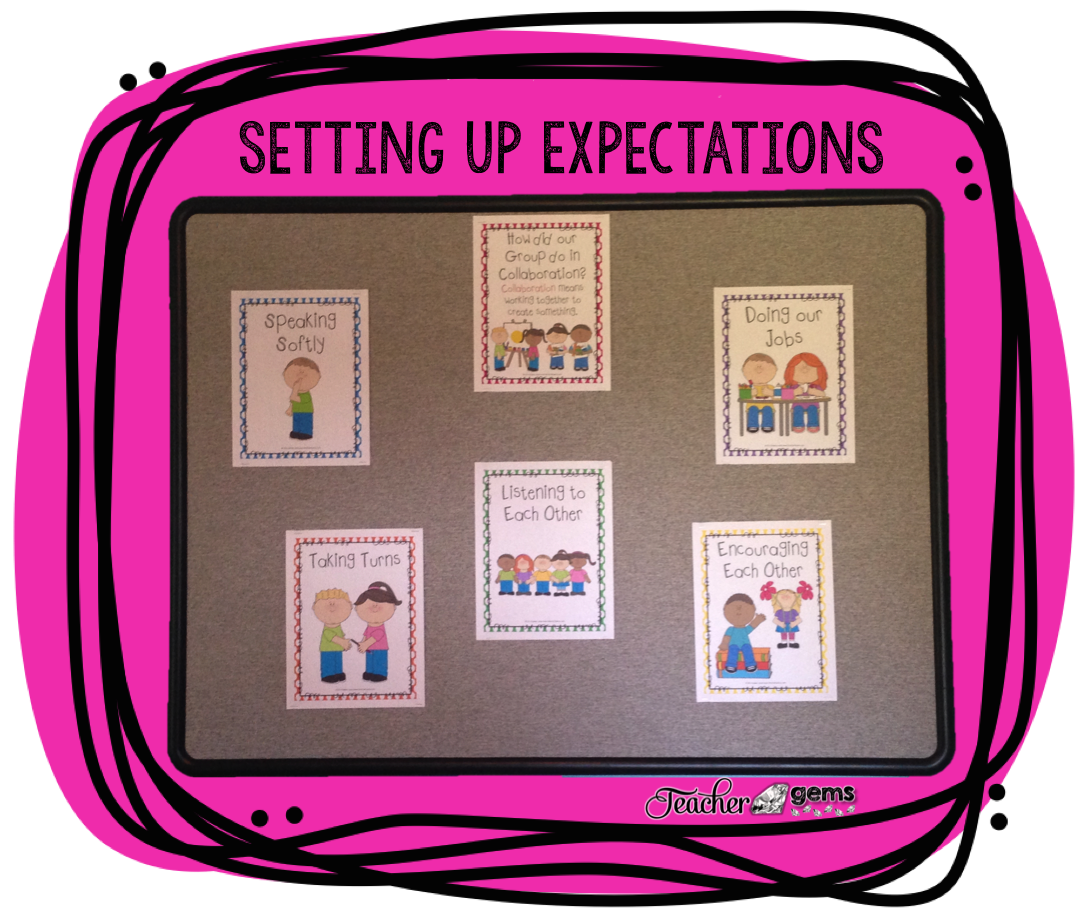
Before sending off your now eager learners, it is important to set up expectations for group work in general. What is the goal of your project? How much time should you spend on each task? What types of behaviors are expected? Here is where you can teach your students about collaboration and what it means (working together to create something). I created these posters to help students learn the key characteristics of successful group work: speaking softly, listening to each other, taking turns, encouraging each other and doing our jobs.


Step 4: Defining a Work Space
Make sure to designate a specific area of the room for each group to work. Have the necessary materials ready ahead of time and make sure the materials manager knows where to find them. Defining a work space helps cut down on messes and helps groups stay on task since they are not being interrupted by other groups. If you don't have enough separate spaces for groups to work within the classroom send one or two groups to a quiet place in the hallway. Make sure they know to be quiet and not interrupt any of the other classes or they will lose their privilege of working in the hallway!
Step 5: Group Work in Action
Now it's time to let your students work! They will be excited to get started. Make sure there are no questions before you begin and then walk around the room and monitor groups as they work. This can be a great time to take some anecdotal notes. Note how students are communicating, how students are fulfilling their roles and which students look like they could take on more responsibilities in the future.
Step 6: Group Evaluations/Self-Assessments
When students have completed their projects (including presentations if you have them), have students reflect on how they feel they did as a group. What things went well and what areas could use improvement? I like to provide each student with a simple chart like the one pictured below that they can complete immediately following the completion of their project. You can choose to have groups fill out one evaluation chart together or have each student complete one and then compare the results.

So there you go! Give it a try! If you are interested in the posters or chart pictured above you can find them in my TpT store by clicking on the image below.


Very useful tips and role suggestions. I think it it better to arrange student groups yourself as you know your students well and can manupulate and assign roles that suit each student best. Some other useful tips here https://goo.gl/8RV97M
ReplyDelete